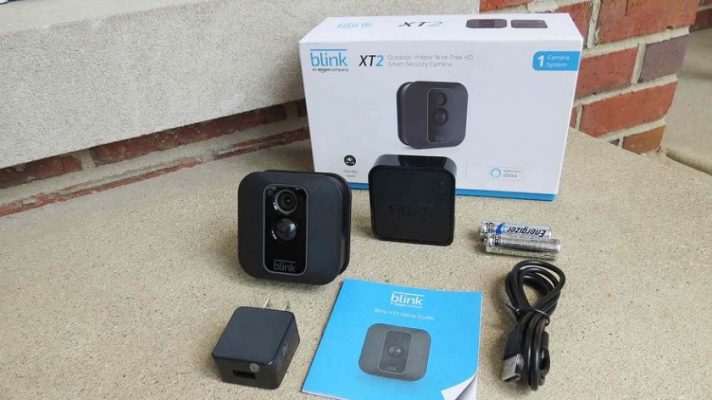
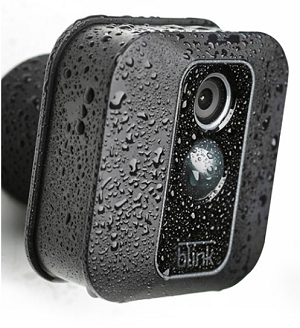
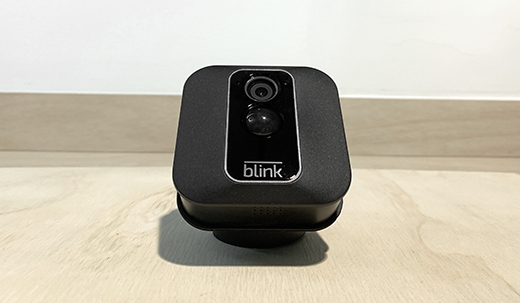
Amazon Blink XT2 camera offers 2 year battery life on two AA lithium batteries with a combination of two-way talk, live view, and motion recording. No tools, wiring, or professional installation required. Blink XT2 stands up to the elements. Just place or mount it inside or outside for whole home security. How easy is Blink XT2 installation? What are the Blink XT2 installation tips and tricks for longer use?
Mounting – Blink XT2 installation tips and tricks
Blink XT2 installation or mounting is easy and anyone can do it. in the box, it has everything those are required for mounting – a camera mount, mount riser, and two screws.
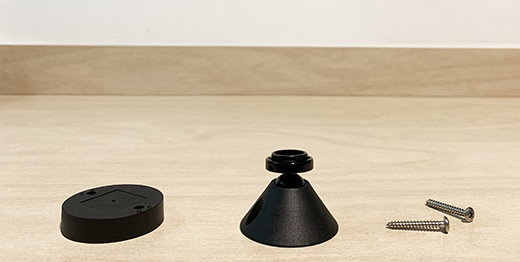
You can use mount riser to increase the distance from the mounting surface to the camera. It allows a wider range of motion when positioning the camera. The two provided screws are wood screws. You need to consult with your local hardware store on the proper screw type, If you are attempting to mount on a different surface or any type of masonry.
We recommend holding the camera where you want to mount and try a Live View by pressing this icon in the app. This way, you can verify the camera has a good view and good signal strength in that location.The best motion detection occurs when a subject walks across the field of view horizontally rather than directly toward or away from the camera. Please keep this in mind when choosing a mounting location.
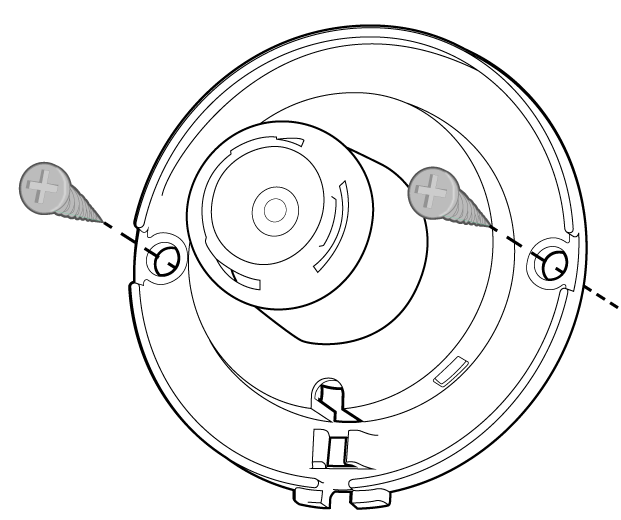
Once you’ve decided on a location, you’ll put the mount and the riser together. (Using the mount riser is completely optional)
You’ll see that the screw holes line up on these two accessories. Next, use the two provided screws to attach the mount at your desired location. Please note, use of the included screws for the mount will create two holes in the surface of the wall.
Once the mount (and optional mount riser) is securely in place, you will snap the camera onto the mount. The circle portion of the mount will connect to the center circle on the back of the XT2 camera.
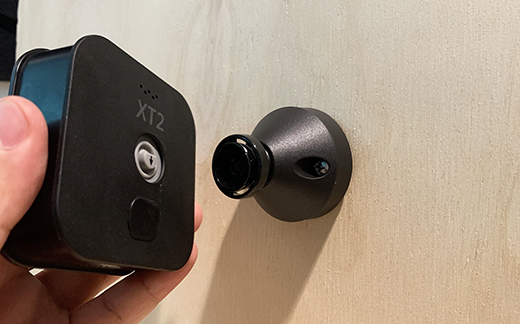
Once mounted, you can rotate the camera on the mount itself to get the perfect viewing angle. When positioning your camera, remember the best motion detection occurs when a subject walks across the field of view from one side to another rather than directly toward or away from the camera.
Blink Mini Camera installation tips and tricks
The Mini camera comes with a camera mount attached in the desktop position and two screws in the box. Before using your new Mini camera, make certain to remove the protective film covering.
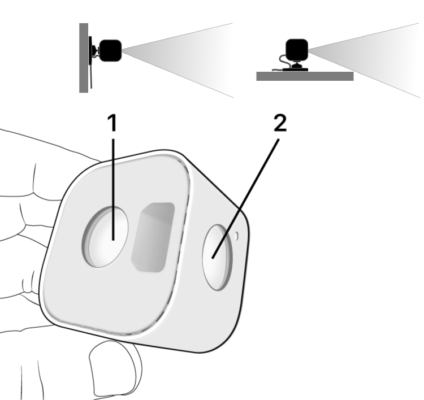
The camera has two mounting points. The wall mount opening (1) is located above the USB port at the rear of the camera. The desktop/cieling mount opening (2) is at the bottom of the unit. Mounts from other Blink cameras also fit the Mini.
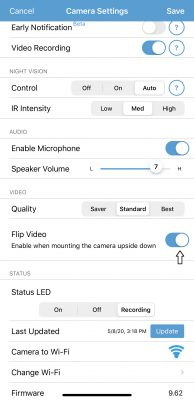
Note: If you want to mount the Mini on a ceiling or overhead surface, be aware that the image can be flipped in the Blink app camera settings.
It is best to use the app to make sure the angle of view is correct for your needs before you permanently mount the camera.
The following steps explain how to mount the Mini camera.
- Hold the camera and pull the mount from the camera. Put the camera in a safe place where the lens will not be scratched.
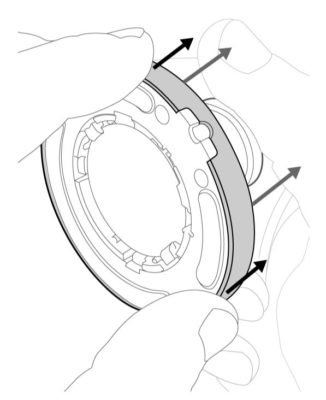
- While holding the mount in both hands, apply pressure to the outer ring while supporting the mount with the opposite hand.

- Select a location to mount your camera where moving shadows and reflections will not interfere with the image.

- Then use the included screws to secure the mount to your surface.
- After the mount is secured, press the cable into the molded clips in the base.

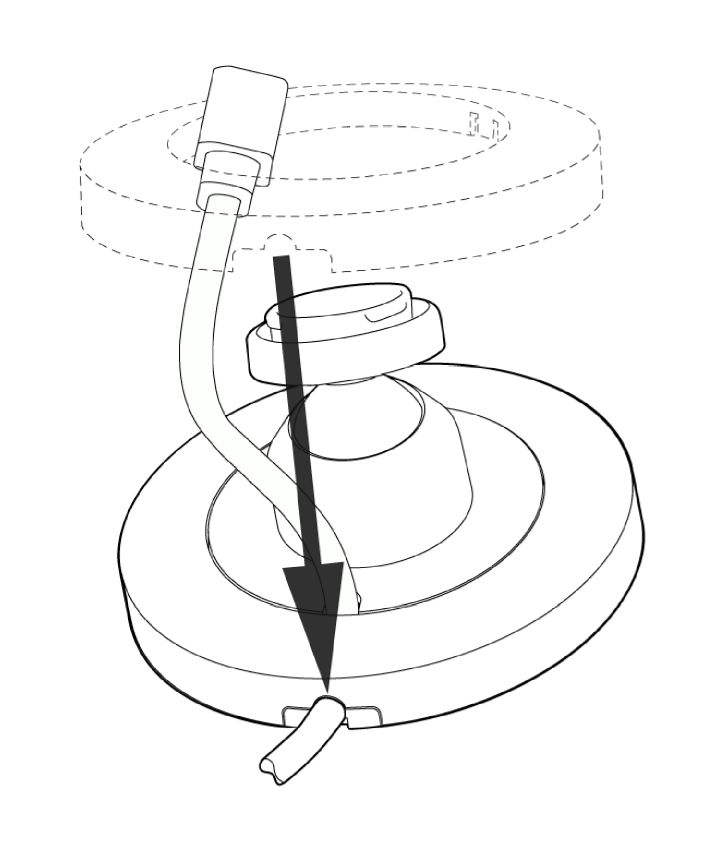
- Thread the cable end through the retaining ring, and line up the notch with the cable.

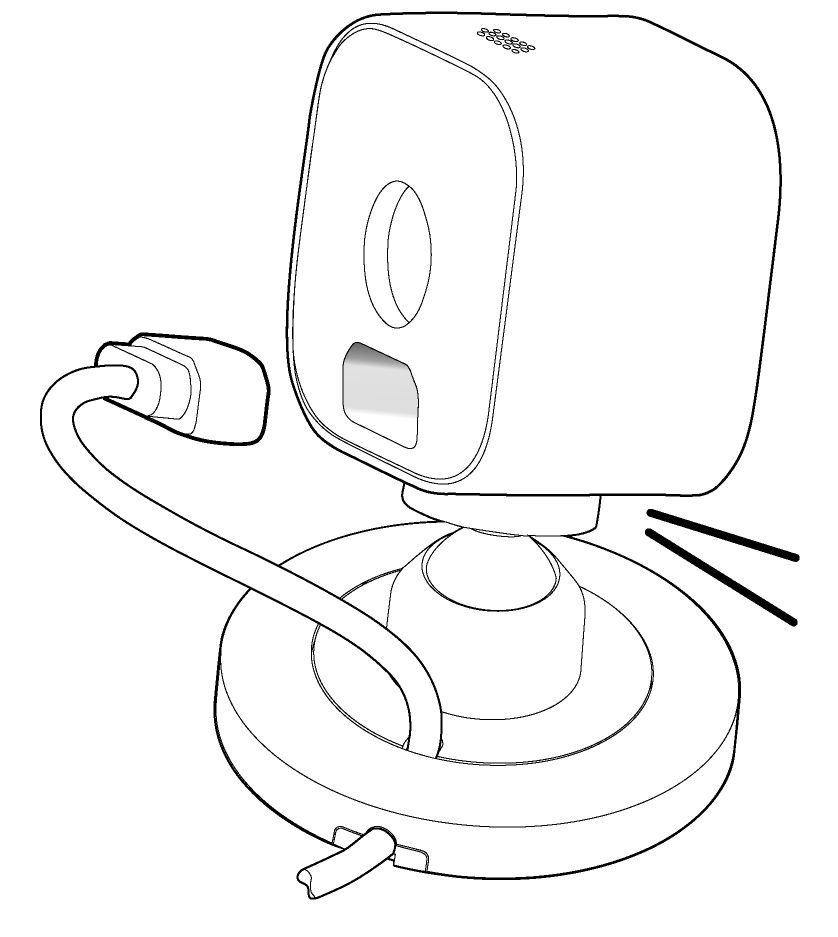
- Press the Mini onto the mounting point. It will click into place as the camera is secured.

- Press all sides of the retaining ring to secure it in place.
- Plug the cable into the USB port in the back of the Mini and aim the camera.
- Plug other end of the cable into the provided 5v 1A USB power supply and then plug the power supply into your wall outlet.

You can test the camera orientation by using Live View in the Blink app.
Add your camera with the app for live view
Once you have the App installed, you are ready to add a system and then attach a Sync Module to it. In the next step you will add devices.
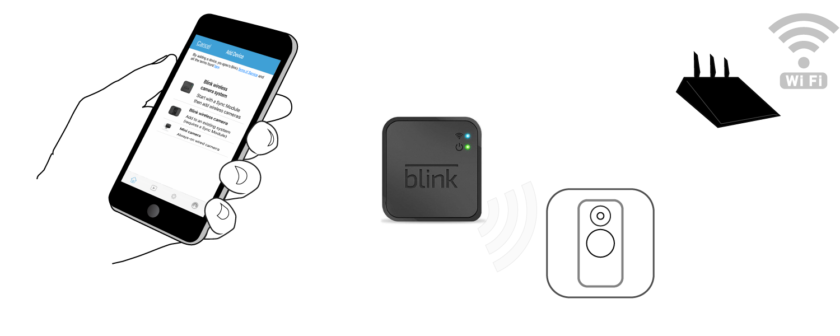
Take the following steps to create a system, and then connect a Sync Module. The Sync Module is essential for camera function, it needs to be powered on and within range of your Wi-Fi router at all times.
Note that the process asks you to connect to two Wi-Fi networks.
The first network is created by the Sync Module to communicate with the camera, it is named “Blink-” plus four digits corresponding to the Serial Number of the Sync Module.
The second network you are asked to join is your Wireless internet.
Add a system and Sync Module
INSTRUCTIONS
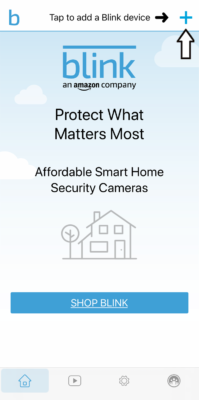
1. On the home screen, tap the Add Device + icon.
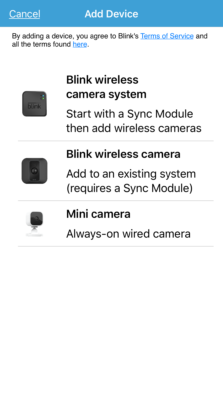
2. The Add Device screen displays three options.
- Blink wireless camera system – A system contains a Sync Module and XT, XT2, or Indoor camera. Start here if you have these cameras.
- Blink wireless camera – This option adds an XT, XT2, or Indoor camera after you have added a Sync Module.
- Mini camera – The Mini does not require a Sync Module to create its own system, but Mini can join another system for benefits like shared scheduling.
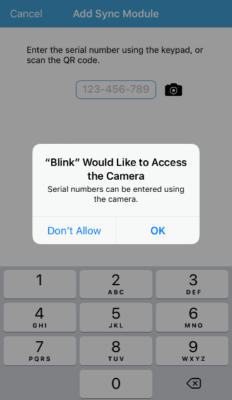
3. After you choose Blink wireless system, the next screen opens your device camera to capture the QR code of the Sync Module.
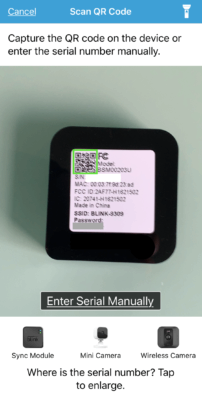
You may need to give permissions for the Blink app to access your camera. Tap OK to scan the QR code, or you can deny access and enter the serial number manually.
To learn where the QR code and Serial Number are, tap your product image at the bottom of the Scan QR Code screen.
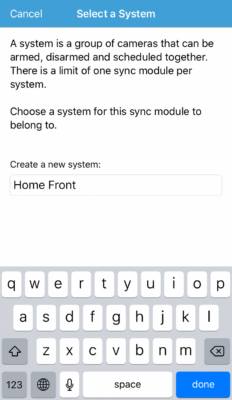
4. Create a new system by tapping the text entry box and providing a name.
Tap Done to move on.
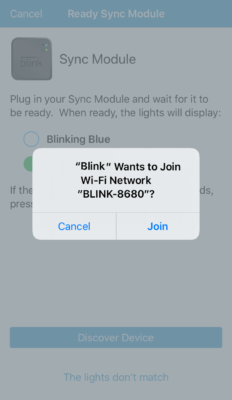
5. The Ready Sync Module screen will instruct you to plug in your Sync Module and then wait for the light pattern of blinking blue and steady green.
When ready, tap Discover Device.
6. Join the Blink app to the Sync Module’s Wi-Fi network named “BLINK-” followed by four digits from the Sync Module Serial Number.
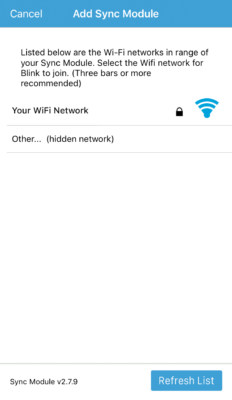
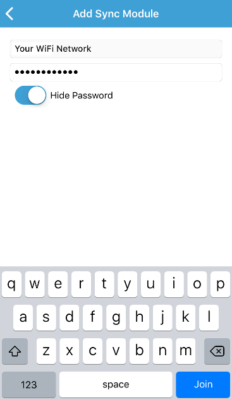
7. Select the network you use to connect to the internet and tap Join.
The Add Sync Module screen displays 2.4 GHz Wi-Fi networks within range of the Sync Module. The Sync Module stores network settings for devices that are added to its system and uses the internet to communicate with the Blink servers.
8. Enter your Wi-Fi internet network password.
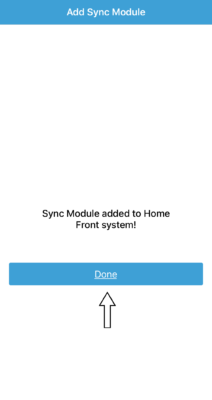
When setup is complete, you are notified on the screen.
9. Tap Done to complete the install process and view the Blink app Home screen where you can then add a camera.
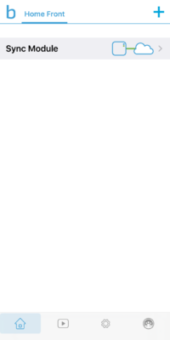
The system name now appears at the top of the Home screen.
Tap plus + to add a device.
If completed correctly, you are now ready to add cameras to your system. Click here to go to the next step.